Ever found yourself struggling to format your Google Docs document precisely, only to realize the ruler is nowhere in sight?
There’s an easy solution to this dilemma. You just need to learn how to show the ruler on Google Docs.
I faced the same challenge, but once I discovered this easy trick, formatting my documents became a piece of cake.
Let’s get started.
How to show ruler on Google Docs
Here’s a step-by-step guide on how to show the ruler on Google Docs:
1. Start by opening the Google Docs document where you want to show the ruler.
2. Look for the ruler at the top of your document. If you can already see it, you’re good to go! If not, move to the next step.
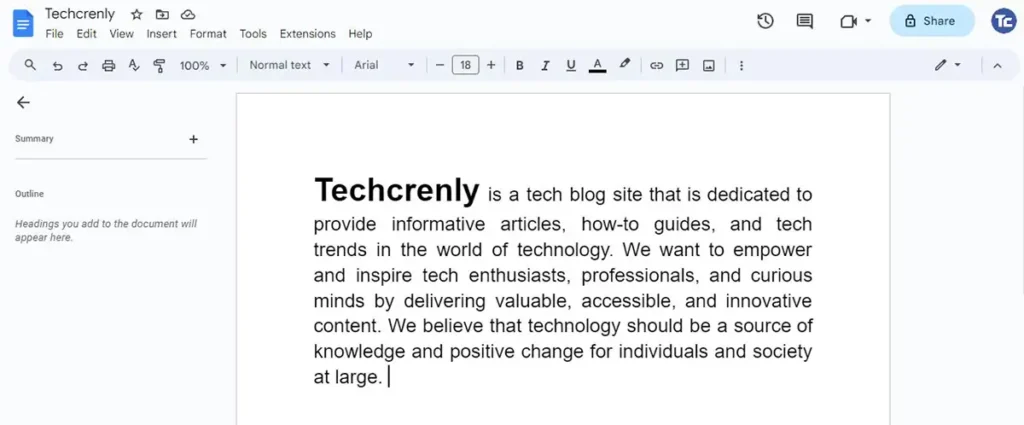
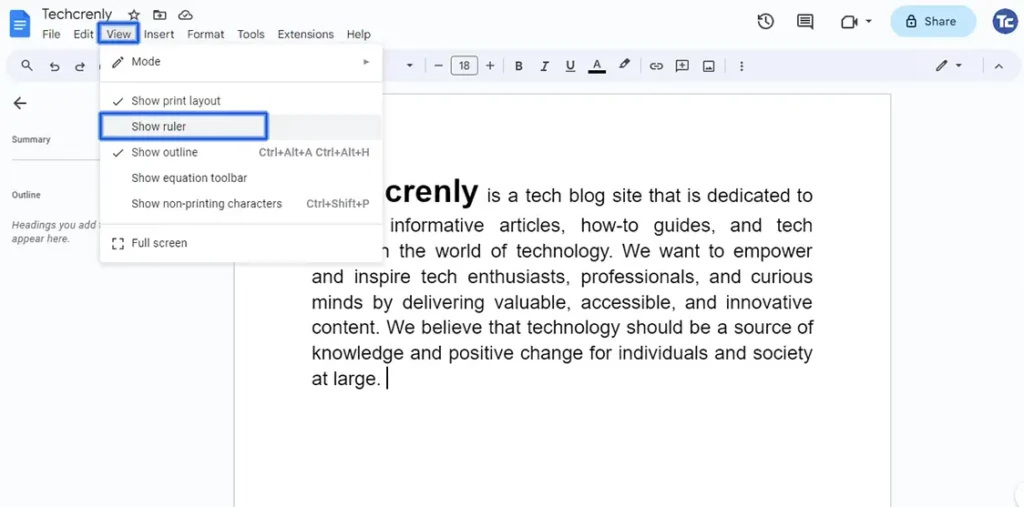
3. Access the View option in the menu bar. You’ll see an option called Show ruler. Click on it to enable the ruler display.
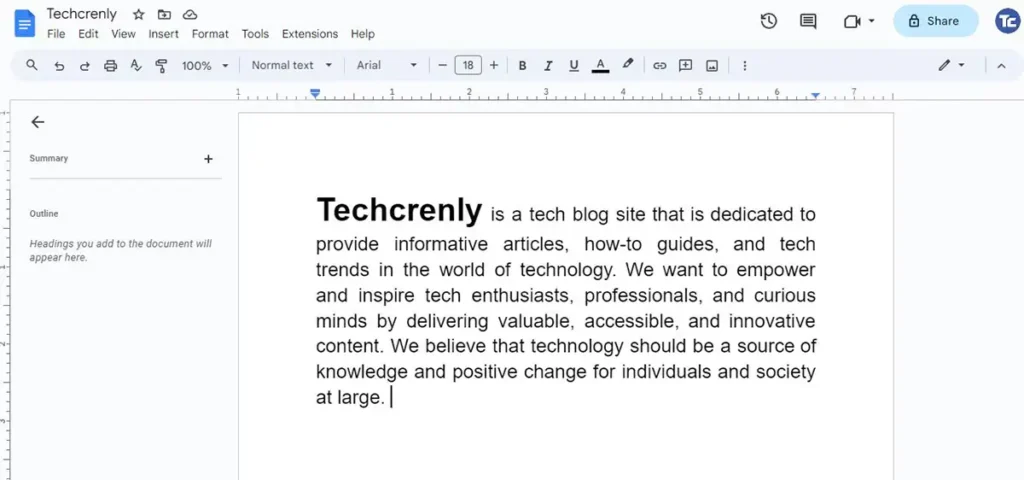
4. After selecting “Show ruler,” look back at the top of your document. The ruler should now be visible, displaying horizontal and vertical lines.
5. If you want to customize the ruler further, you can click and drag on the gray area of the ruler to set custom margins. This can be helpful for precise formatting.
6. If you ever want to hide the ruler again, you can revisit the “View” menu and click on “Show ruler” to toggle it on or off.
Final thoughts
Now you can format your Google Docs documents like a pro with the ruler at your fingertips. By following the simple steps outlined above, you’ve unlocked a valuable tool for precision in document layout.
The ruler in Google Docs offers a visual guide, making it easier to align text, images, and other elements with accuracy.
No more struggling with formatting issues – you’re in control.