Tired of the hassle when trying to add an image to your Google Docs?
Don’t worry, I’m here to guide you through the easy steps to easily insert images into your Google Docs.
I’ve shared these steps with others, and they’ve found success in making their documents more visually appealing.
In this guide, you’ll learn:
How to insert images in Google Docs on Windows
Here’s a step-by-step guide on how to insert images in Google Docs on Windows:
1. Open Google Docs.
2. Place the cursor on the location in the document where you want to insert the image.
3. In the top menu, click on Insert then Image. You can choose where to get your image from. It can be from your computer, Google Drive, and many more.
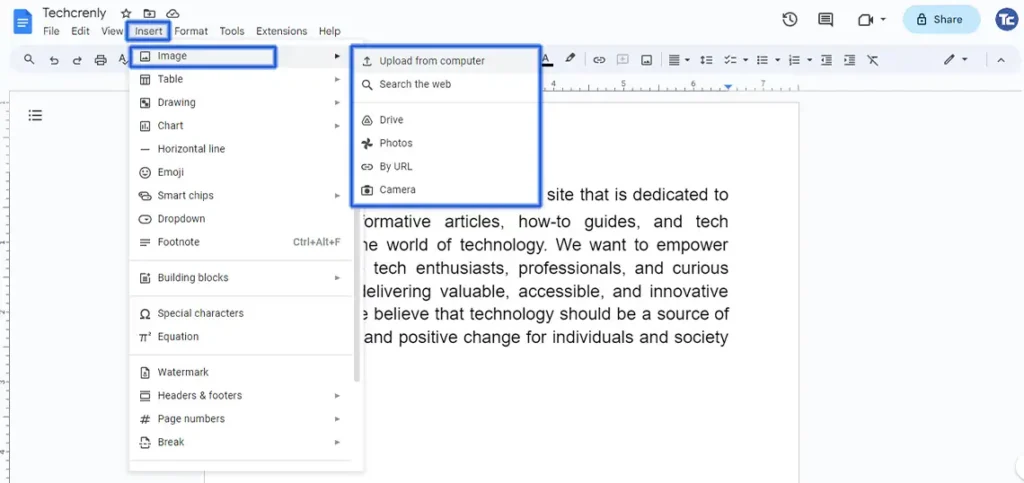
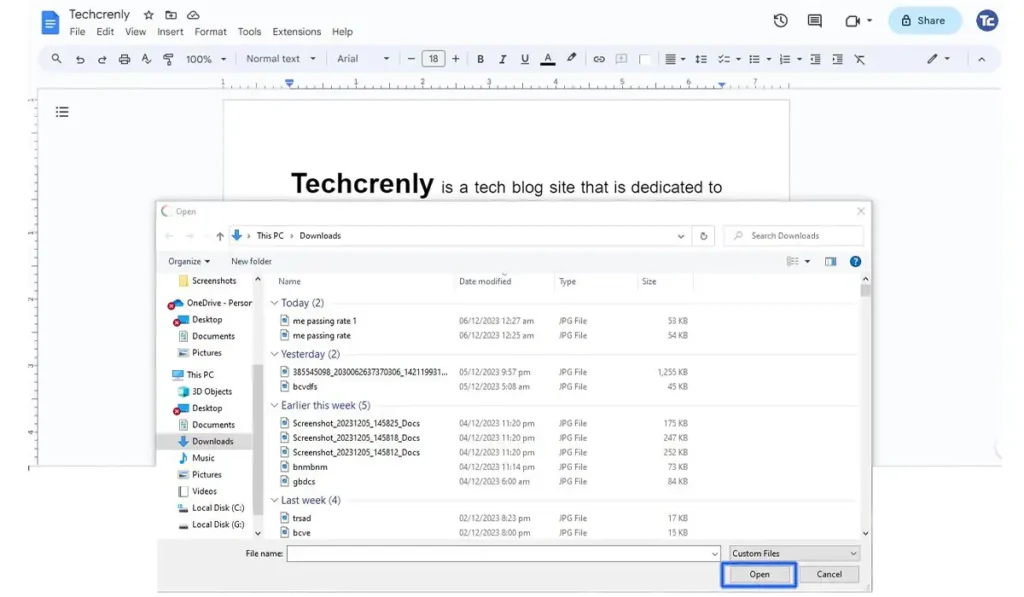
4. If you choose Upload from computer, locate the image file on your computer and click Open.
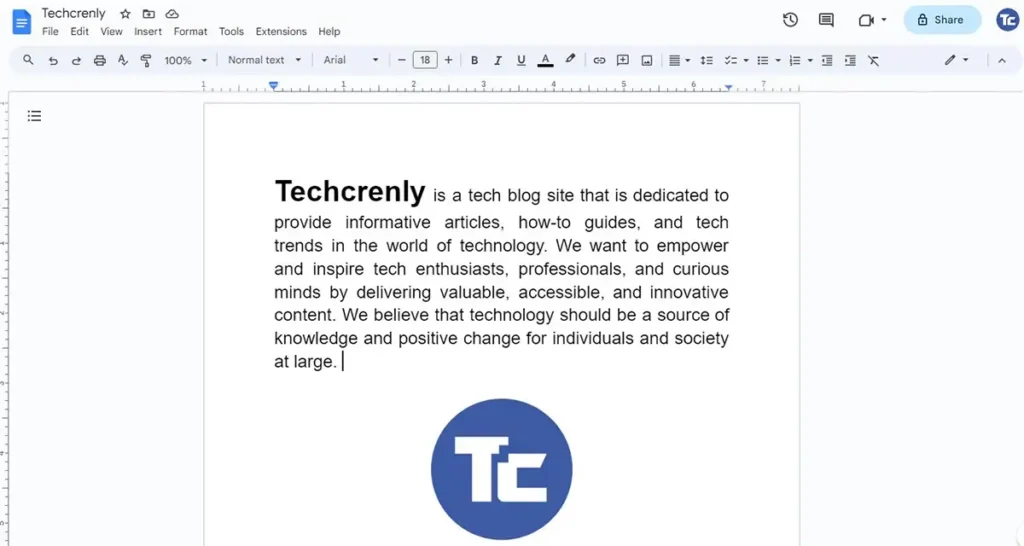
5. Once the image is inserted, you can click on it to adjust the image settings. You can click anywhere outside the image or press Enter to finish the process.
How to insert images in Google Docs on Android
Inserting images in Google Docs on Android is very easy. Here are the steps to follow:
1. Open the Google Docs app on your Android device.
2. Open the document where you want to insert an image or create a new one.
3. Tap the + button to open the menu. From the menu, tap on Image to insert an image into your document. You have various options to select the image source.
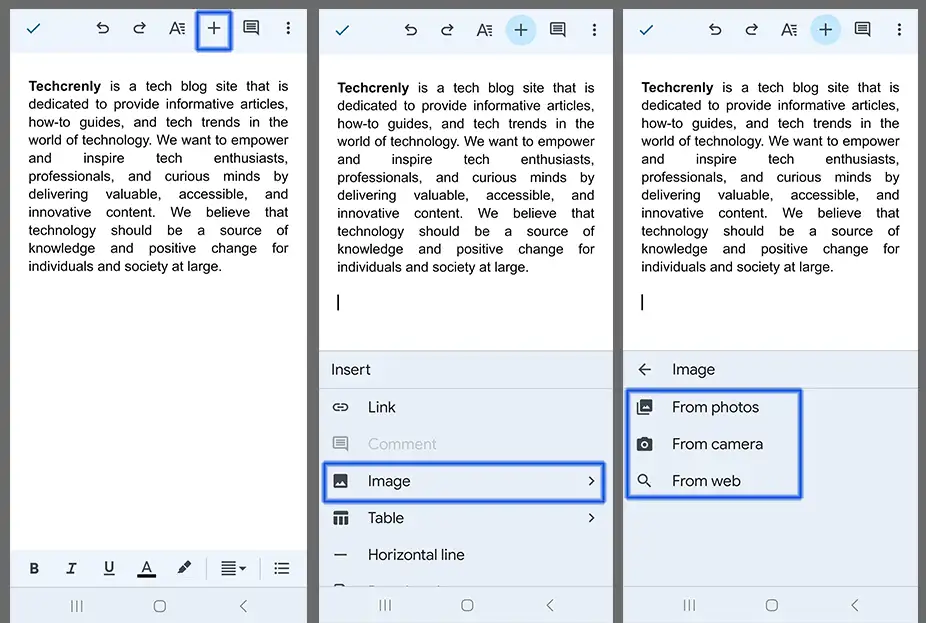
4. Once the image is inserted, you can tap on it to access additional options. After you finish the process, tap anywhere outside the image.

Final thoughts
That’s it! You can now nail the art of inserting images in Google Docs. Give yourself a virtual high-five because you’re now equipped to add that extra flair to your documents.
It’s not just about pictures; it’s about making your stuff pop and catch your eyes.
So, as you wrap up these steps, take a moment to explore the cool tweaks you can make to your images. Your document, your style.

