
Have you ever needed to protect your important documents but didn’t know how to add watermarks in Google Docs?
Guess what? Adding watermarks in Google Docs is super easy. You only need to follow a few steps.
I’ve used this method to safeguard my documents, adding a professional touch to each one.
Let me show you how to do it step by step.
- How to add watermarks in Google Docs
- How to add text watermarks in Google Docs
- How to remove watermarks in Google Docs
How to add watermarks in Google Docs
I can guide you through the process of adding watermarks in Google Docs. Here’s a step-by-step guide:
1. Open the Google Docs document to which you want to add a watermark. If you don’t have a document yet, create a new one.
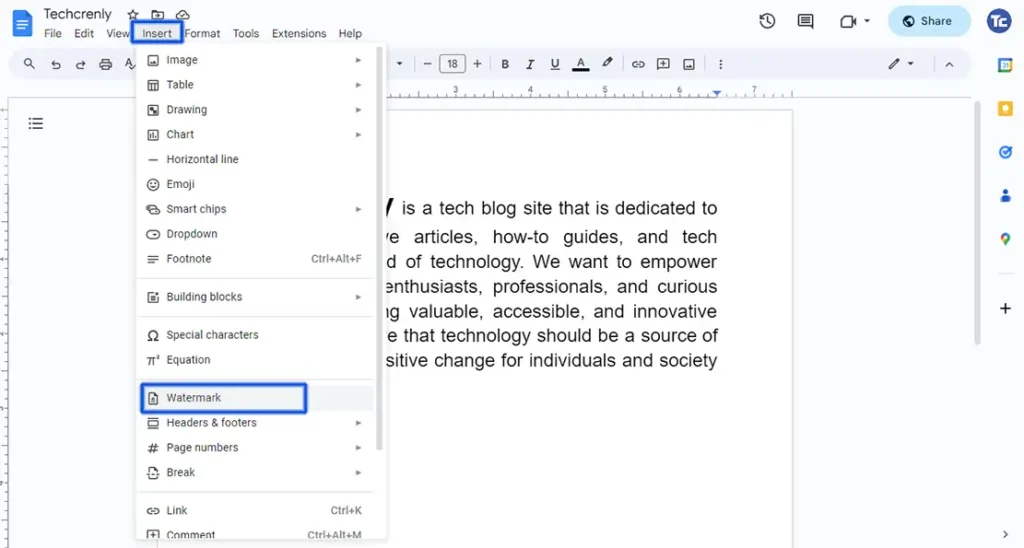
2. Go to the Insert menu at the top of the page, and click on it. From the drop-down menu, choose Watermark.

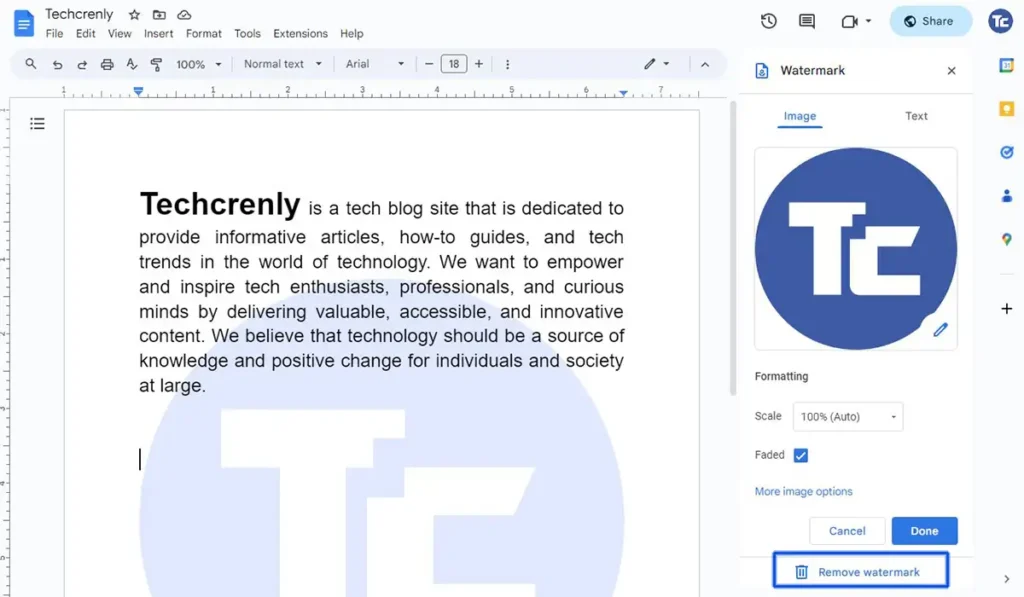
3. Upload an image that represents your watermark. This could be a company logo, a personal brand logo, or any image you prefer as your watermark.
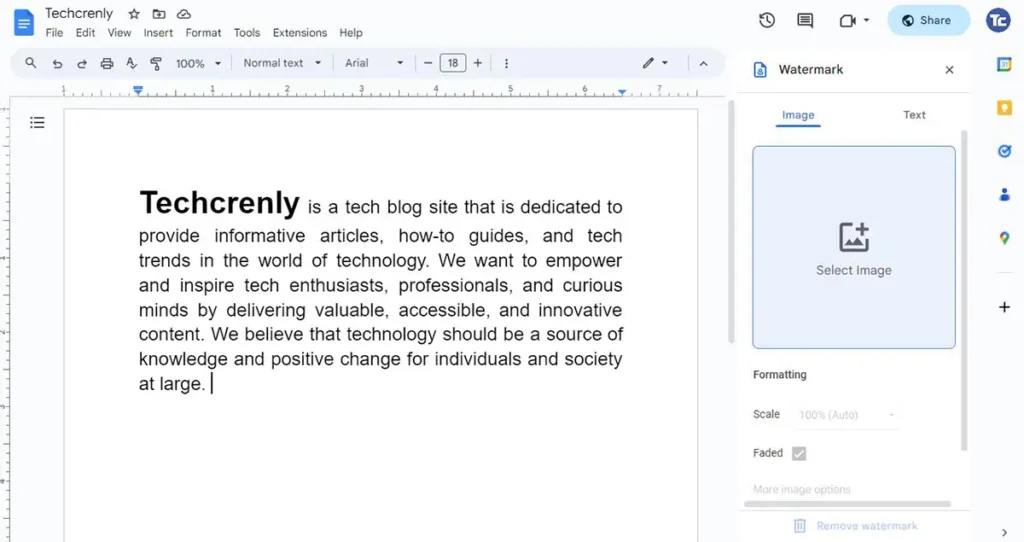
4. Adjust the size and placement of the image within the drawing box.
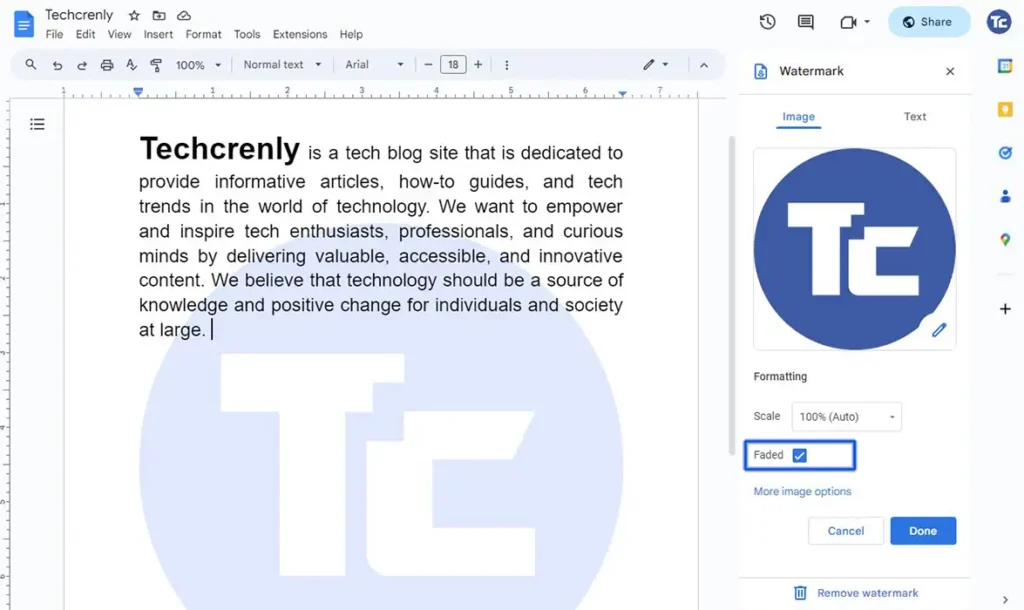
5. Tick the Faded option. This is crucial since most watermarks have a faded appearance for a polished look.
6. Click More image options for advanced customization, including opacity, brightness, and contrast. Experiment with these settings to tailor your watermark exactly to your liking.
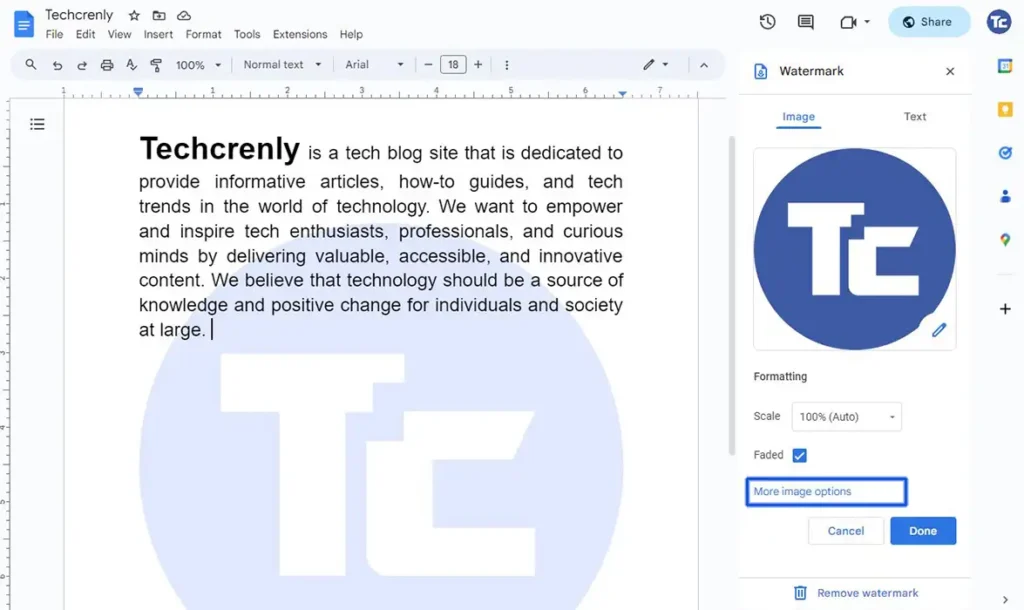
7. Click Done when you’re satisfied.
How to add text watermarks in Google Docs
Here’s a detailed step-by-step guide on how to add text watermarks in Google Docs:
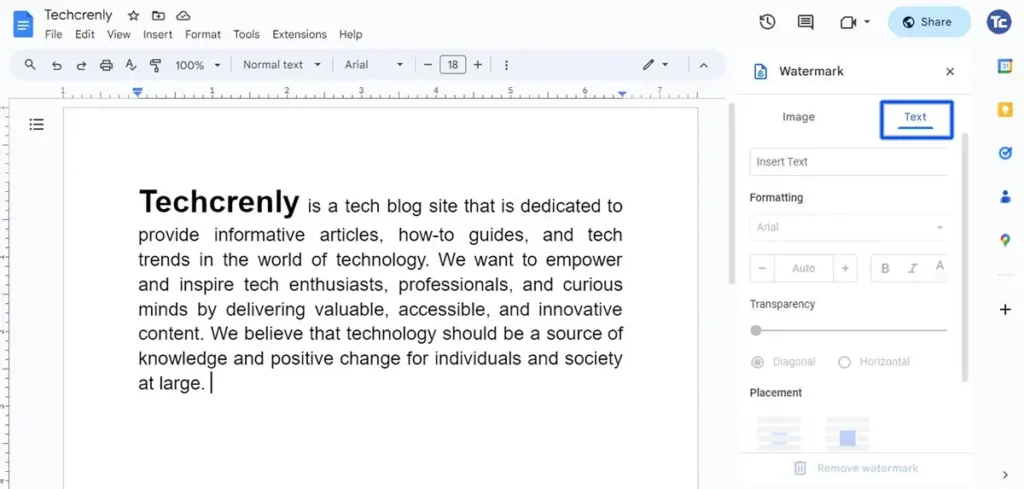
1. Go to and select the Insert option located at the top of the page. Select the Watermark option from the drop-down menu.
2. Instead of selecting Image in the Watermark options, opt for Text. This takes you to the Text Watermark settings, allowing you to add a customized text-based watermark to your Google Docs document.
3. Type your desired watermark text into the text box. This could be a phrase, company name, or any text you want as a watermark.
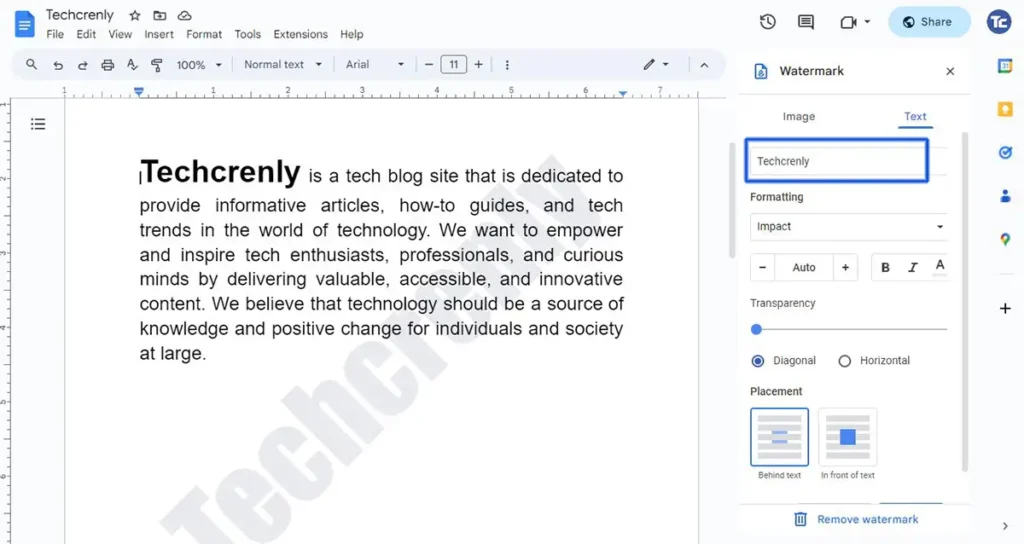
4. Edit the appearance of your text, such as font style, transparency, or placement.
5. Click Done after your editing is complete.
How to remove watermarks in Google Docs
Here’s an easy guide on how to remove watermarks in Google Docs:
1. Begin by opening the Google Docs document from which you want to remove the watermark.
2. Click on Insert at the top of the page to open the menu. Navigate to Watermark in the drop-down menu.

3. From the Watermark options, select Remove Watermark then click Done.
4. Alternatively, you can also remove the watermark by clicking directly on it within your document. Once selected, press the “Delete” key on your keyboard, and the watermark will be promptly removed.
Final thoughts
And there you have it! Adding watermarks to your Google Docs is as easy as pie. Now, your important documents can have that extra layer of protection, giving them a professional touch too.
Whether you’re safeguarding your creative work, adding a brand logo, or simply personalizing your documents, this guide has got you covered.